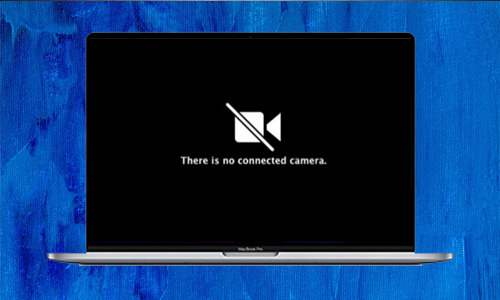
How to fix the MacBook camera not working? Your Mac’s camera is usually dependable and will continue to function properly for many years. However, in some cases, your Mac camera may not function properly. In this article, we’ll look at why your camera might not be working, how to test it on a Mac, and how to fix the problem.
If your camera on your MacBook is not working or is unavailable, you will be unable to FaceTime, connect with colleagues via video calls, or do anything else. Fortunately, if it is not a hardware problem, you can probably fix it yourself.
Table of Contents
How to fix the MacBook camera not working?

Here is the list of 11 methods to fix the MacBook camera not working:
Method #1. Check that the app has permission to access Mac’s camera.
- Click the Apple logo in the upper left corner and select System Preferences.
- In the left sidebar, click Security & Privacy, then Camera.
- If not, click the padlock icon, enter your Mac’s password, and give the app permission to use the camera.
Method #2. Force quit conflicting apps
Force quit any apps that are causing problems with the MacBook camera, such as FaceTime, Skype, Photo Booth, Zoom, and so on.
- Force Quit by pressing Command + Option + Esc or by clicking the Apple logo.
- Hold down the command key while selecting all open apps that you believe use the camera.
- Click the Force Quit button.
Open the Photo Booth app via Launchpad, Spotlight, or the Applications folder after 15 seconds. Check to see if the camera now works.
Method #3. Restart your Mac to fix the MacBook camera not working
Click the Apple logo in the upper right corner and select Restart. Now, try using the camera on your Mac. It ought to work.
Method #4. Check that Mac’s camera is not restricted by Screen Time.
- Select System Preferences Screen Time from the Apple menu.
- Click Content & Privacy Apps from the left sidebar.
- Check that the camera is enabled and that the apps that require camera access have enough time.
Method #5. Try using another app that needs the camera
Sometimes the issue is with a specific app rather than with your Mac’s camera. To test this, launch a different app that makes use of the camera. Open Photo Booth or FaceTime, for example, to see if everything works.
Method #6. Update the app to fix the MacBook camera not working
If you’re having trouble with an app and your Mac’s camera, consider updating it for better compatibility. Open the App Store and navigate to the Updates section to update apps.
Method #7. Update your Mac
Apple strives to improve the performance of your Mac with each update. If you’re having problems with the camera, consider updating to the most recent version of macOS.
To do so, navigate to System Preferences Software Updates.
Method #8. Check Mac’s System Report
- Select About This Mac System Report from the Apple menu.
- Click Camera on the left side.
- The camera details should be visible on the right side.
Method #9. Run Apple Diagnostics
Apple Diagnostics is another useful tool for determining the problem. After that, you will see the error codes (if any). If the error codes start with N, it means there is a problem with the camera. Contact Apple Support and provide them with the error code. The complete list of error codes and their meanings can be found here.
Method #10. Reset the SMC to fix the MacBook camera not working
If you have an Intel-based Mac, resetting the SMC can help you resolve issues with the built-in camera. The procedure is simple. You can find instructions on how to reset the SMC here.
Method #11. Contact Apple Support
- On your iPhone, iPad, Mac, or PC, go to GetSupport.Apple.com and select the appropriate option.
- Choose the issue you’re dealing with.
- Depending on your selection, you will see options such as Chat, Email, Call, and Bring in for Repair.
- Let’s go with Chat.
- You can now locate your device’s serial number and enter it here. Alternatively, sign in with your Apple ID and select a registered device.
- You will be connected to a customer service representative after following the on-screen instructions. To get the best possible help, make sure you explain the problem clearly and calmly.


