


How to Fix MSConfig Not Saving Changes on Windows 11? Assume you wish to execute a system clean boot. You launch the MSconfig programme and make the necessary modifications. After you’ve made your adjustments, click the OK button. In an ideal world, you’d be asked with a popup asking for permission to reboot the system.
Table of Contents
How to Fix MSConfig Not Saving Changes on Windows 11?
Many customers have claimed that they are not requested to restart the system. Furthermore, despite clicking on Apply and OK in the System Configuration box, the modifications made are not preserved.
However, we are unsure of what is causing the issue. It might be due to a third-party antivirus product interfering with MSConfig’s operation or a lack of rights.
Instructions to Fix MSConfig Not Saving Changes on Windows 11
Don’t be concerned if you’re experiencing this issue on your machine. We’ve included a list of fixes in this post to assist you in resolving this issue.
Method 1: Boot Windows in Safe Mode
- Using the keys Windows+R, open the Run Dialog.
- Type ms-settings:recovery into the command prompt and hit Enter.
- In the first box that appears, click the Restart no option next to Advanced startup.
- The Select an option window is shown. Using the arrow keys on the keyboard, navigate to Troubleshoot.
- Now, select Advanced Options.
- Select Startup Settings from the drop-down menu.
- Press the Restart button.
- Hit Enter after pressing the F4 key on your keyboard.
- Press Windows+R to open the Run Dialog.
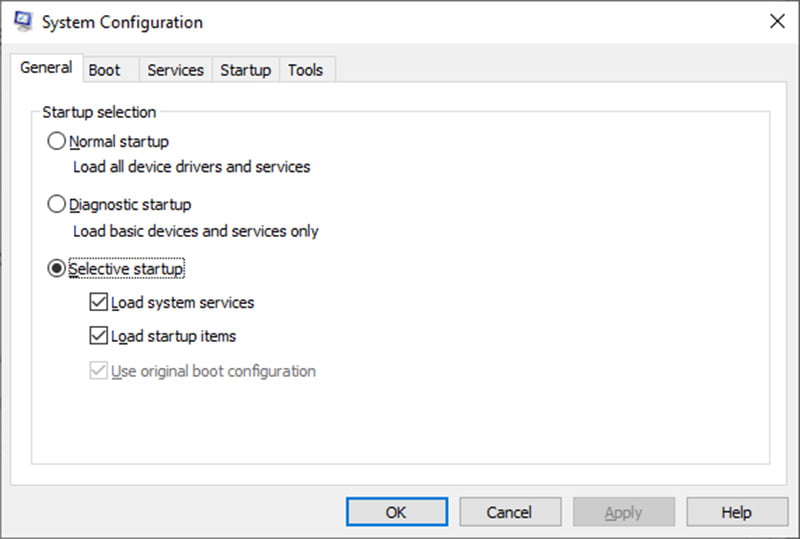
- Type msconfig and press Enter.
- Make all of the necessary modifications. Then, click OK after applying the changes.
- Ideally, a System Configuration Dialog will appear, asking if you wish to restart the system.
- Select Restart.
- After restarting your system normally, check to see if the problem has been resolved.
If the problem persists, try the following solution.
Method 2: Make changes from the Latest Admin Account
- Launch the Run dialogue by pressing Windows+R.
- In the Dialog window, type the following command and hit Enter.
ms-settings:otherusers- View the resulting windows, scroll down to the Other users area and select the Add account option.
- In the resulting box, click I don’t know this person’s sign-in information.
- Select Add a user without a Microsoft account.
- You will be required to enter a Username, Password, and Security Questions. Enter the information with care.
- In the resulting box, click account, then Change account type.
- From the drop-down menu that appears, select Administrator.
- Exit the settings window now.
- Select the Windows icon from the taskbar.
- Navigate to your User Account.
Sign in to the newly established account by clicking on it.
Check to see if this helps. If it doesn’t work, move on to the next repair.
Method 3: Remove any third-party antivirus/malware software from your computer
- Press Windows+R to open the Run Dialog.
- Enter the command appwiz.cpl after typing it.
- Find the third-party Antivirus/malware in the resulting window and click the three dots.
- Choose Uninstall.
- That’s it.
We hope you found this information useful. Please leave a comment and tell us about the solution that helped you solve the problem. This will also benefit future readers. Thank you for your time.

