

How to free up space on Mac? If you’re reading this, you’ve probably encountered the issue of not having enough space to update macOS or applications. When your disc space is nearly full, your Mac’s performance suffers. Perhaps there isn’t enough room on your hard drive to download that new movie you’ve been craving, and you can’t find any files to erase. Do you want to know how to increase disc space on your Mac? Continue reading. We’ll show you 8 amazing techniques to free up space on your Mac hard disc in this article. Let’s get this party started.
Table of Contents
How to free up space on Mac?
Here is the list of 15 methods to free up space on Mac:
Method #1. Optimize storage space
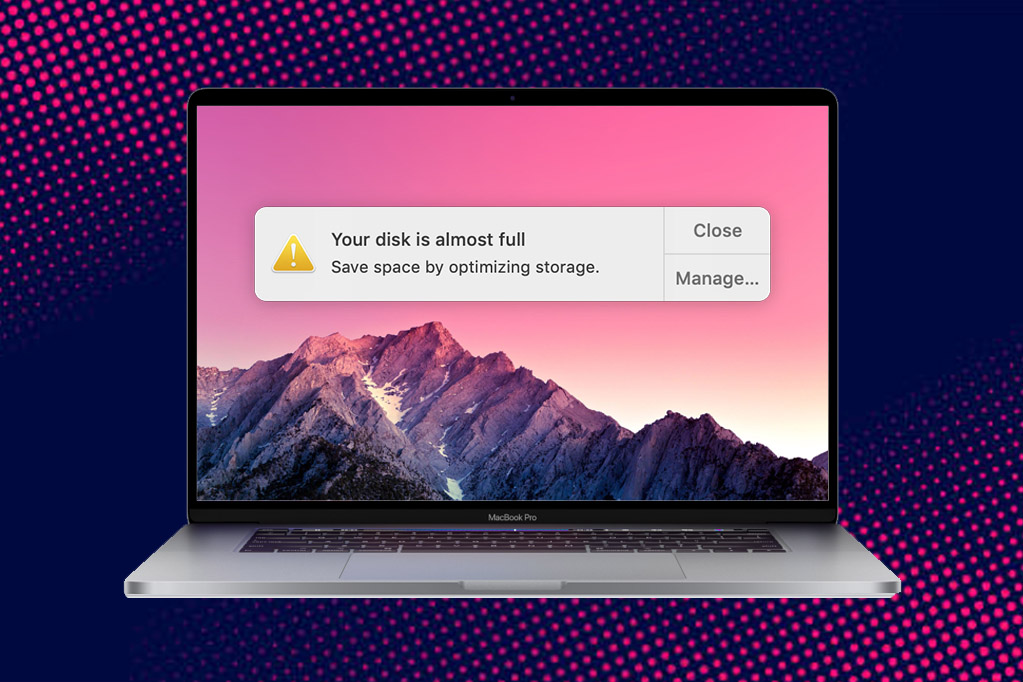
Apple includes software that assists you in optimising your storage space. These options are saved in the storage management panel. To access them, select About This Mac from the Apple menu. Choose the Storage tab and then click Manage. You’ll notice four things under Recommendations:
Method #2. Delete useless media
Make a point of deleting any files that you no longer require. For example, after installing the apps included in.dmg files, you may wish to hunt for and delete them from your Downloads folder. Control-click the item Move to Trash to delete files, folders, or programmes.
You should also delete any podcasts that you have finished listening to. To accomplish this:
- Open Podcasts and choose Downloaded from the sidebar.
- Choose a podcast and then click the More (…) button next to it.
- Select Remove Download.
Method #3. Clean up the Downloads folder
The Downloads folder is another location where numerous useless files might be found. Aside from all the random items you download, it also contains all the files you’ve inadvertently and automatically downloaded, as well as the app installers from the programmes you’ve installed on your device.
Open the Downloads folder, control-click the files to be deleted, and then select Move to Trash.
Method #4. Use an external storage
You can also utilise external devices such as hard discs or USB drives to dump large amounts of data from your MacBook that you cannot remove. The following are the best external USB-C Mac hard drives and external USB-C SSDs for your MacBook.
Method #5. Remove users
If you’ve configured your Mac to allow multiple users, you can remove users who no longer need access to your computer. Check the Users folder on your Macintosh HD for any files that have not been erased by prior users.
Method #6. Stop sharing files between users
In addition to eliminating users, you should check the Users folder on your Macintosh HD to determine whether there are any shared files that you no longer need access to or share.
Method #7. Delete unneeded emails
If you’ve kept your email for a long time, chances are it’s taking up a lot of storage space. While emails do not frequently clutter your storage, attachments do. These attachments remain on your Mac once you open them until you delete them.
- Select Mail Preferences.
- Select the General tab and check the box next to Remove unedited downloads when the message is deleted.
Remove junk mail:
- Navigate to Mail Preferences.
- Select Mailbox Behaviors from the Accounts tab.
- Set a timer below to Erase trash messages to eliminate junk mail automatically.
- Control-click Inbox Erase Deleted Items to remove mail you’ve already sent to Trash.
Method #8. Uninstall apps to free up space on Mac
If you’re anything like me, you’ll download a free programme once and never use it again. Unfortunately, these programmes take up space. There are several methods for uninstalling programmes on a Mac.
- Launch Launchpad. You may also type Launchpad by pressing the command + space bar.
- Hold down the option key.
- Click the x at the top of the app icon.
- Finally, press the Delete button.
Method #9. Compress files you infrequently use
If you’re running out of space, compressing or zipping files allows you to save some space without having to remove them. Control-click the file or files you wish to compress on your Mac and pick Compress from the contextual menu.
Method #10. Remove duplicate files
Duplication is unavoidable. We keep downloading attachments and photographs, making too many copies of the same papers and files, and storing them all over our Macs. Duplicate files, on the other hand, cause confusion, occupy disc space, and clog your backup.
- Open the Mac App Store and search for Duplicate File Finder Remover.
- Select a folder: If you want to identify duplicate files within a folder, click Choose Folder, navigate to the relevant folder, and then click Scan. Click Scan Home Folder to discover duplicates throughout your whole Home folder (essentially, your entire Mac). I’ll go with the latter.
- A list of all your duplicate files is provided below: When the scan is finished, the Overview screen will appear. Select Duplicate Files from the menu at the top. Alternatively, from the pie chart, select one of the alternatives such as Movies, Music, Pictures, Documents, and so on.
- Select the duplicates automatically or manually:
- You can select Auto Select to have the software select all duplicates of a file except one of its copies. A file called iGeeksBlog.dmg, for example, has two duplicates. As a result, Auto Select will choose one duplicate for deletion. If a file has three copies, Auto Select will choose two of them to delete, and so on.
- If you have essential files in specific folders, select a duplicate from the left sidebar and then delete one of its duplicates.
- Then, select Review & Remove.
- Finally, to eliminate duplicate files on Mac, click Remove.
Method #11. Clear temporary files to free up space on Mac
If you use the internet frequently, you most likely have a large number of temporary files on your hard drive. Caches store files from web pages in order for them to load faster the next time you visit them. They’re not completely horrible. Excessive cache files, on the other hand, can dramatically diminish your storage space and slow down your Mac.
To find and delete temporary files, launch Finder and select Go to Folder from the Go tab. Enter /Library/Caches and press Go. This takes you to the cache folder. Manually delete cache files by selecting them from the folders.
Clear the cache in Chrome:
- Open Chrome and click the More (…) button in the upper right corner.
- Clear Browsing Data can be found under More Tools.
- Choose a time range to clear and then click Clear Data.
Clear the cache in Firefox:
Navigate to Firefox Preferences.
Select the Privacy and Security tab.
Clear Data can be found under Cookies and Site Data.
Method #12. Delete unused language files
Apple has done an excellent job of improving language support for services like as Translate and Visual Lookup. Language files are included with each of these languages.
Because you’re probably just using one language on your Mac, you might want to delete any excess language files. You can either use third-party cleaning software or erase them manually.
Remove unused language files:
Navigate to Finder Applications.
Select Show Package Contents from the contextual menu when you control-click an app.
Select the Resources folder from the Contents folder.
Except for the ones you require, delete all subfolders with the.lproj extension.
Take out the trash.
Method #13. Clean your desktop
If your desktop is clogged with screenshots, last week’s reports, email attachments, and other files, it’s time to start cleaning up to free up a few gigabytes of storage space.
To assist, open Finder and select Desktop on the sidebar, then List view. To examine the largest files and determine whether or not to remove them, click the Sort symbol and select Size.
If you can’t delete files but still want to clean up your desktop, control-click anywhere on it and select Use Stacks. These piles items by category, organising your desktop for you automatically.
Method #14. Delete system junk to free up space on Mac
System garbage includes old cache files, app localizations, and Time Machine backups. Manually removing system garbage requires time and effort.
I’ve already covered several stuff you should clean up regularly, such as cache, temporary, and language files. Also, make careful to erase the system and user log files. To accomplish this:
- Open Finder → Go → Go to Folder.
- Type ~/Library/Logs → click Return to open the folder.
- Select the log files to be deleted and drag them to the Trash.
- To view unneeded system application logs, return to Go to Folder type /Library/Logs.
- To find system reports, navigate to /Library/Logs/DiagnosticReports.
- You can also delete these.
- Restart your Mac after emptying your Trash.
Method #15. Delete old backups to free up space on Mac
Backing up your iPhone or iPad is essential for keeping your data safe in the event of an accident, break, or theft. However, these are intended to be temporary files and should not be kept on your Mac indefinitely. To free up space, you may choose to erase outdated iCloud backups. The same goes for previous Time Machine backups on your Mac.

