

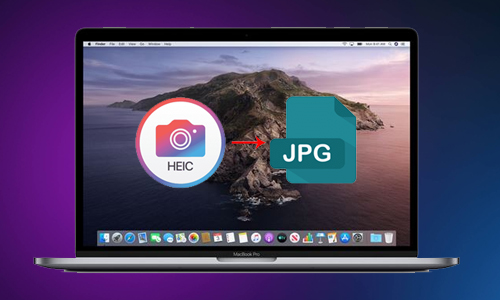
How to convert HEIC to JPG on Mac? After being approved by Apple in 2017 for iOS 11, the High-Efficiency Image Container (HEIC) has evolved tremendously. However, because HEIC is not a widely used format, you may find it necessary to convert HEIC to JPG for global use. Fortunately, there are a number of ways to convert HEIC to JPG on a Mac.
Let’s take a closer look at how we can convert HEIC to JPG, and if you want to learn more about HEIC files and why they need to be converted, be sure to stick around until the conclusion.
Table of Contents
What is a HEIC file?
High-Efficiency Image Container (HEIC) is a variant of the High-Efficiency Image File Format (HEIF) (HEIC). In 2015, the Moving Picture Experts Group (MPEG) released the High-Efficiency Image File Format (HEIF). On iOS 11 and macOS High Sierra, Apple was the first to make extensive use of the media standard.
According to MPEG, the HEIC file format requires half the storage space as JPG for photographs of equal quality. Let us now look into why you might need to convert HEIC files to JPG.
How to convert HEIC to JPG on Mac?
Here is the list of 5 methods to convert HEIC to JPG on Mac:
Method #1. HEIC to JPG using Preview app on Mac
On your Mac, launch the Preview software.
Open the HEIC image to be converted.
Now, in the upper left corner of your screen, select File→Export.
You can rename the file under the Export As tab.
Select the location next to the Where tab.
Choose JPEG in the Format tab and adjust the Quality dragger to choose the compression level.
Save the file.
Method #2. HEIC images to JPG using the Photos app
- Drag your HEIC photos into Photos.
- Drag the photographs you want to convert to the Desktop or Finder window. The image will be converted to JPG automatically.
Method #3. HEIC to JPG on Mac using Automator
- Start Automator on your Mac.
- Select Quick Action and then click Choose.
- Double-click (or drag) Copy Finder Items from the left menu.
- Double-click Change Image Type from the same menu.
- Select JPEG from the To Type menu.
- Then, at the top of your screen, choose File and then Save.
- In the Save quick action tab, rename the activity and then touch Save. The quick-action shortcut has now been created.
- Now, in the Photos or Finder app, right-click on the image you want to convert and select Quick Actions. Tap the name you saved in Save quick action as.
Method #4. HEIC to JPEG on Mac using third-party apps
For the aforementioned strategies, we used the built-in default programmes Preview and Photos. Several third-party Mac programmes can quickly convert HEIC to JPEG. I recommend the following two apps:
- HEIC Conversion
- HEIC Converter iMazing
These apps are free to download from the App Store and offer a simple user interface. If you don’t want to deal with storage difficulties, you can always use online converting methods.
Method #5. HEIC files to JPEG on Mac online
Do you dislike installing or utilising new apps? You might always use free online converters to convert HEIC to JPG. To convert HEIC images to JPEG, I recommend visiting the following two websites:
- HEIC Converter for iMobie
- HEICtoJPEG
- CloudConvert
- iLoveIMG
So those were some of the simplest approaches for converting HEIC files to JPG. As mentioned earlier, we’ll now go through HEIC files and why they need to be converted.
Also Read: How to download macOS 13.1 Ventura developer beta?

